You found a $40 barcode scanner online, have an old one sitting in a drawer, or are considering a rugged handheld from a secondhand listing. Before you buy anything, the important question is simple: will it work with inventory software that runs in a web browser?
First, what is a scanner? Two quite different devices get called a scanner, and they do not have the same answer.
A plain barcode reader — the corded or cordless kind that works alongside a computer you already have — is the easy case. It types the code into whatever field your cursor is in, and you can confirm it in about thirty seconds. That is what most of this guide is about.
A handheld with the scanner built in is a small computer as well as a scanner, and the computer side is what decides. A secondhand unit can read barcodes perfectly and still be too old to run current web software — that is a common trap and it is not specific to any one product. If a used Zebra is what you are looking at, buying a used Zebra handheld covers the Android-version check and the rest of what a listing will not tell you. Whatever system you plan to run, check its stated requirements against the handheld’s Android version before you buy. That is the check people skip.
The short answer: yes, if it types like a keyboard
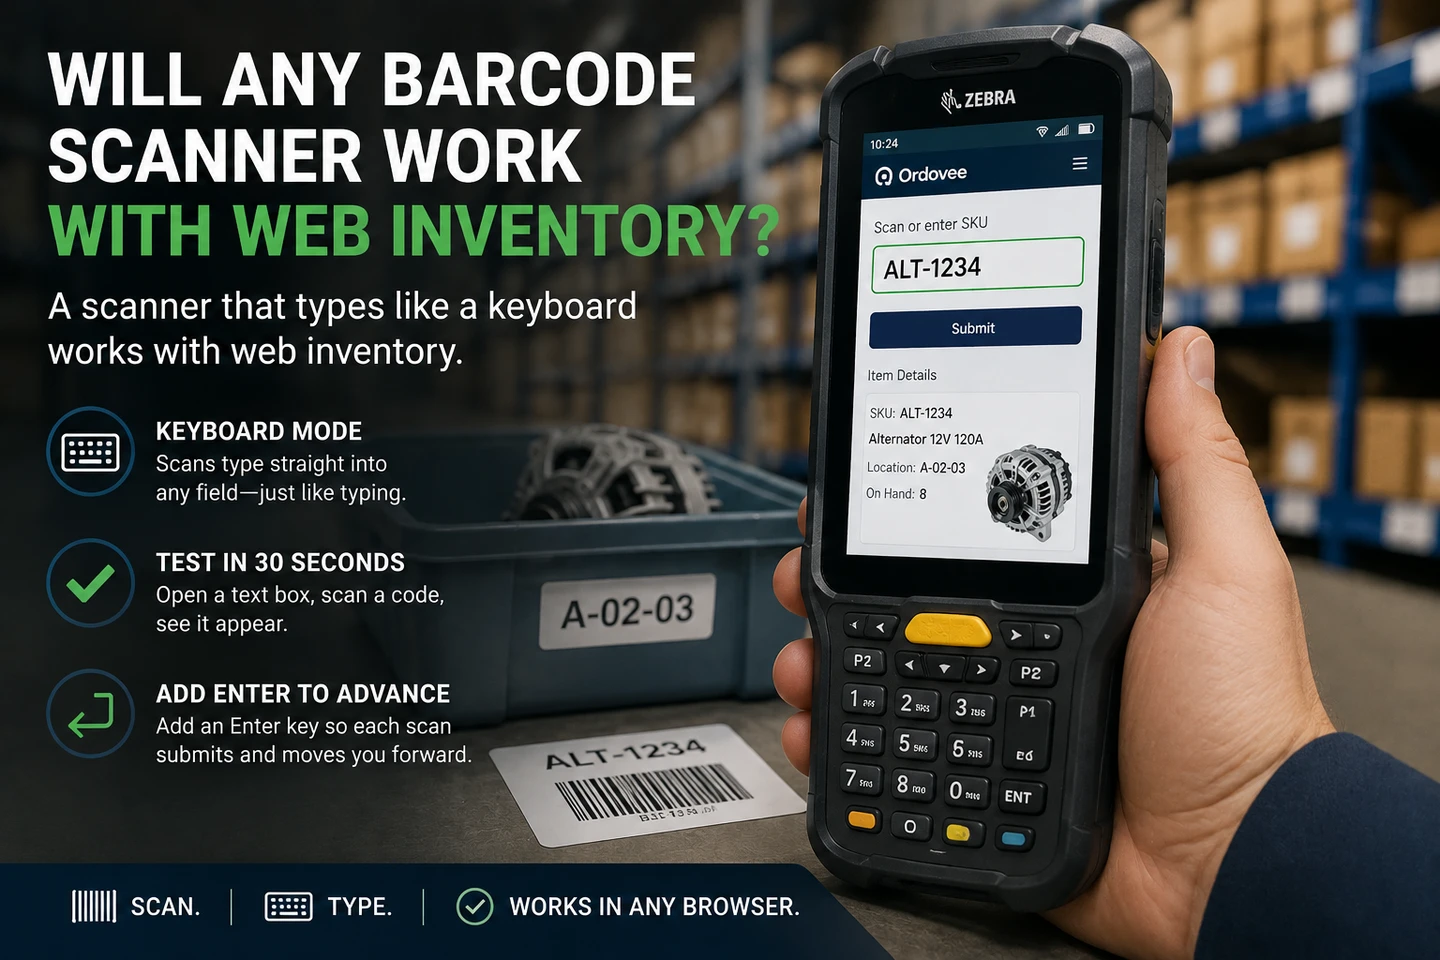
If your scanner can operate as a USB or Bluetooth keyboard — HID keyboard-wedge mode, the setting most USB scanners ship with by default — it can enter barcode data into a browser the same way typing does. That is the question people usually worry about, and for a plain barcode reader it is the whole of it.
In that mode the scanner behaves like a very fast keyboard: it types the barcode straight into whatever field your cursor is sitting in. No driver to install, no plugin, no companion program.
Test the scanner you already have in 30 seconds
Open any text box — a browser search bar, a blank note, an empty document — click into it so the cursor is blinking, then scan something and read what lands.
- Open a text field. Any box you can type into works. A search bar or a fresh note is easiest.
- Click into it. Make sure the cursor is blinking inside the box, not somewhere else on the screen.
- Scan a barcode. Any product package will have one. Use a barcode for this, not a QR code — that difference matters here.
- Compare what appears to the code you scanned. Not just “did characters show up” — do they match, character for character?
Two passes tell you where you stand. First: the exact code appears in the box. Second: the cursor drops to a new line right after — that means the scanner is also sending an Enter at the end of each scan, which is what makes a form submit itself.
Pass one means the scanner works with a browser. Pass two means it will drive a one-trigger workflow. Pass one without pass two is a setting away, not a different scanner.
Use a barcode for this test, not a QR code. Plenty of scanners read barcodes and cannot read QR codes at all, so one will sit there doing nothing on a QR code while working perfectly. That is what the scanner can see, not a setting you can change — and you often cannot tell which kind you have by looking at it. If a QR code does nothing, try a barcode before deciding the scanner is broken.
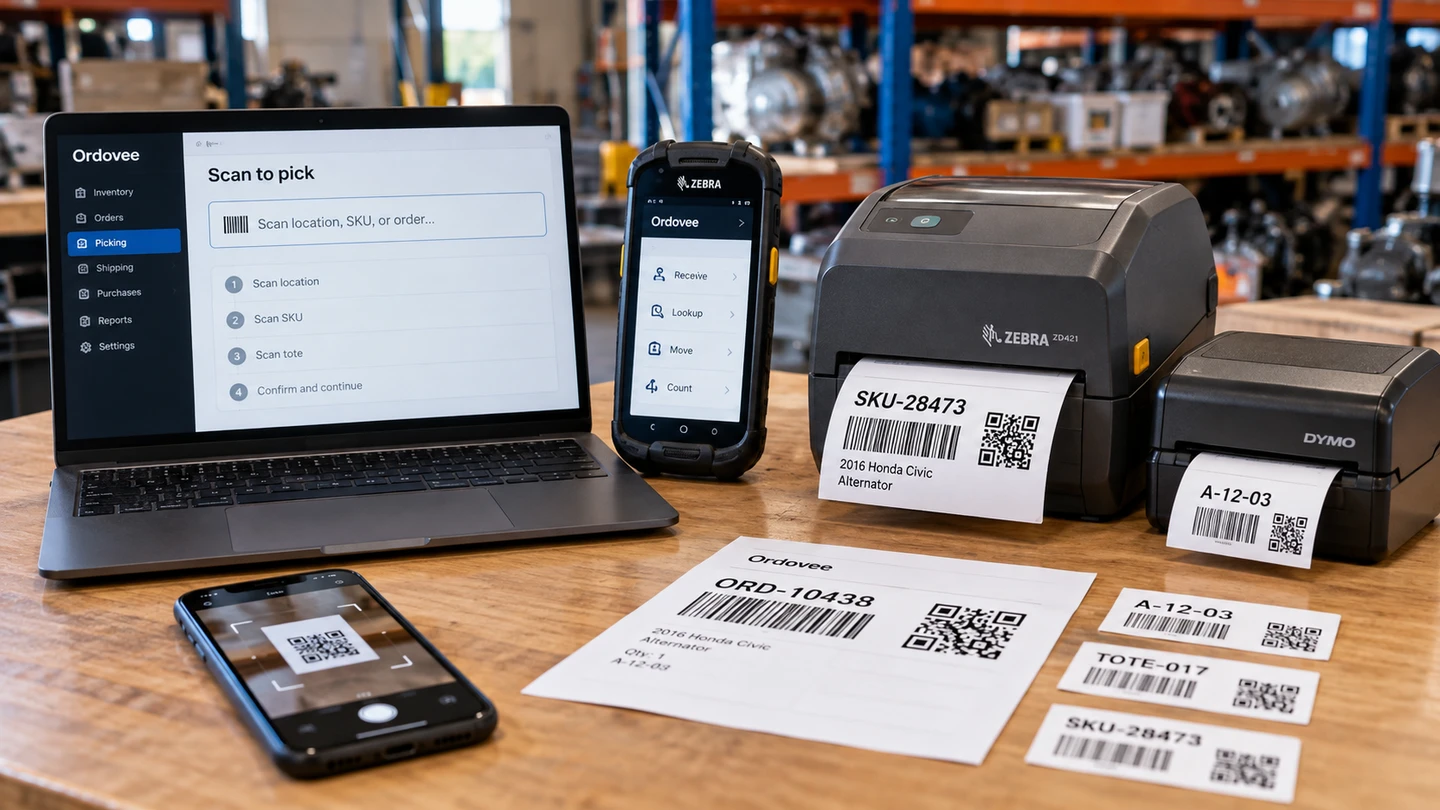
This matters past the test. Ordovee’s part and location labels are QR codes, because a QR code fits a full code on a small sticker. If your scanner reads barcodes only, the free label generator prints those.
Why the test works
A keyboard-wedge scanner reads the barcode, decodes it into plain characters, and types those characters into the field your cursor is in — exactly as if you had typed them yourself.
Here is the sequence, start to finish:
- You pull the trigger and the scanner’s light reads the printed pattern.
- The scanner decodes that pattern into a string of characters — say,
ALT-1234. - It sends those characters to the connected computer, phone, or handheld as keystrokes.
- Whatever field currently holds your cursor receives them, character by character, as if they had been typed.
The important part is step four. The scanner is not sending data into the software through some special channel — it is filling the focused input, the same box you would click and type into. That is why a plain browser form is all you need on the receiving end, and it is the same principle a Zebra handheld uses through its DataWedge app, just built into the device instead of a separate scanner.
Because Ordovee runs in a browser, it does not need to “talk to” your scanner or recognize a specific brand. It receives keystrokes, exactly the way it would if you typed a SKU by hand. A USB scanner from one maker and a Bluetooth scanner from another land the same characters in the same box, so ODV treats them identically.
Do I need to add an Enter key?
Only if you want each scan to submit the form on its own. A bare scanner types the barcode into the field and stops there; setting it to press Enter after every scan makes the form advance on its own, so one trigger pull moves you to the next step instead of leaving you reaching for the screen.
For real inventory work, you want that Enter. Picture verifying a hundred parts at a packing station: without it, every scan lands the code and then waits for you to tap Submit. With it, each scan reads, fills, and advances in one motion — a true one-trigger rhythm. Multiply that across a full day of picking and the difference is real time saved and far fewer taps.
Most USB and Bluetooth scanners turn this on with one setup barcode from the manual — though almost no two manuals call it the same thing. Zebra prints Enter Key (Carriage Return/Line Feed), Honeywell prints Add CR Suffix, and plenty of others just say suffix. On an Android handheld it lives one menu deep in the wedge app the maker ships: DataWedge on a Zebra, a screen called Wedge inside the scanner settings on a Datalogic Memor or Skorpio, a scanner settings screen on a Honeywell. Different words, same setting. The Zebra DataWedge setup guide walks through the exact toggle that makes each scan auto-submit an ODV form.
What can still go wrong
Four things account for nearly every scanner that “won’t work,” and none of them mean you bought the wrong hardware.
- It is set to the wrong host mode. A scanner bought with a serial cable comes up in serial mode, and one that came off a checkout lane may still be in a register mode — a manual might call it IBM, OPOS or USB-OEM depending on the brand. Usually you switch it back by scanning the “HID keyboard” barcode in the manual. Some register modes shut the scanner’s light off entirely, though, so it cannot read that barcode: if you pull the trigger and get no beam at all, you reset it with the maker’s free setup tool over the USB cable instead.
- It cannot read that kind of code. A scanner that ignores a QR code may read a barcode perfectly, as above. That is the scanner itself, not a setting.
- The punctuation comes out wrong. If letters and digits land but characters like
-or/are wrong, the scanner’s keyboard country setting does not match your computer’s. Scan the country barcode for your layout from the manual. Scanners leave the factory set to US English, so this mostly turns up on a non-US keyboard. - There is no Enter suffix. The code lands correctly and the form just sits there. That is the setting above, not a fault.
And one that is not the scanner at all: the cursor has to be in the field. A keyboard-wedge scanner types wherever the focus already is, so if nothing is selected, the characters have nowhere to go.
USB, Bluetooth, or a rugged Android handheld?
Once each device is set to deliver keyboard-style input, the choice is mostly about where and how your team scans.
- USB corded scanner. The cheapest way to start and the most reliable — plug it into the computer at a desk or packing station and it works. Best when scanning happens in one spot.
- Bluetooth scanner. A cordless version of the same thing. It pairs to a computer, tablet, or phone and lets a person walk a few steps from the screen while scanning. Good for a packing bench where reach matters.
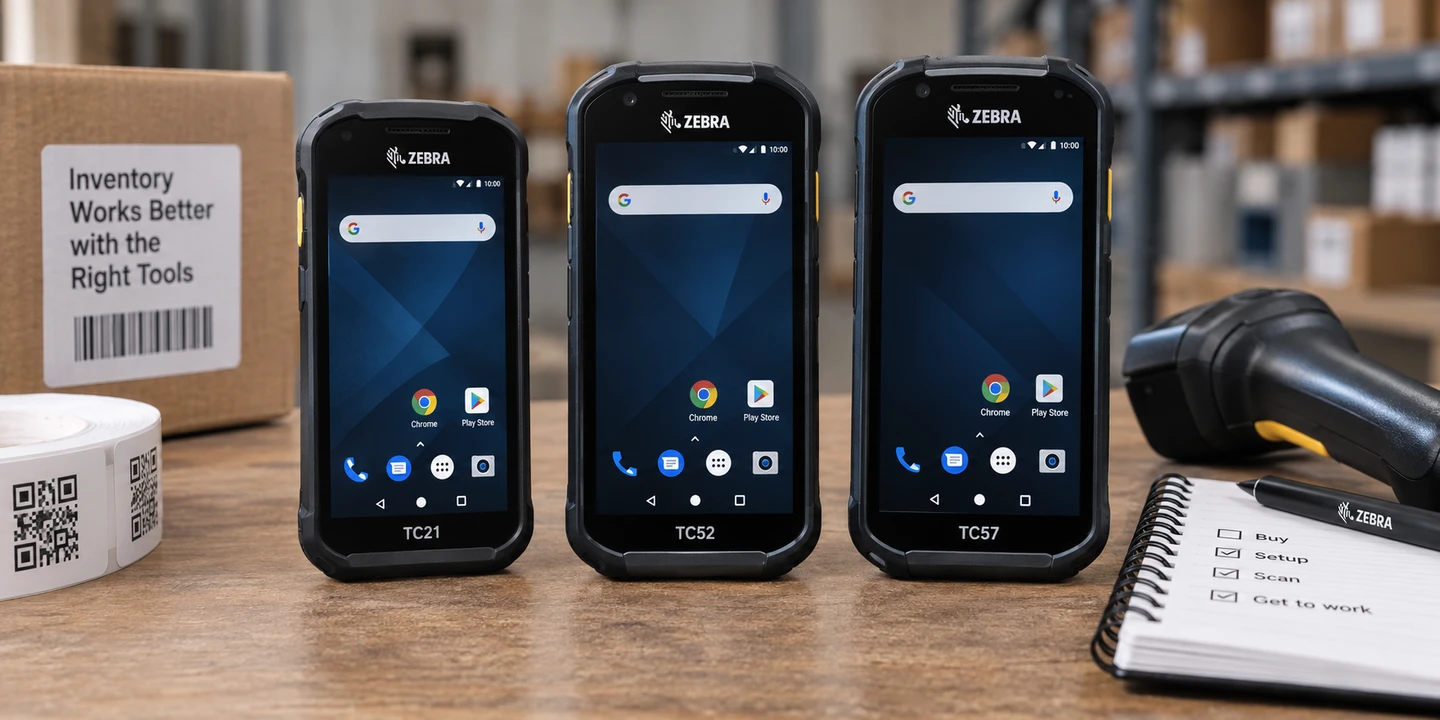
- Rugged Android handheld. A Zebra-style handheld carries its own screen, scanner, and battery, so a picker roams the aisles all day with the whole workflow in one hand. This is the tool once volume grows and people are scanning constantly — and it is the one where age matters, because the handheld is doing both jobs. Plenty of cheap secondhand units read barcodes perfectly and still ship a browser too old to run current web software. We recommend Android 10 or newer, and we test on a Zebra TC52 running Android 13; check the version on the listing before you buy, and the hardware compatibility reference covers the rest.
You may not need to buy anything yet. The phone already in your pocket has the camera that reads QR, which is what Ordovee prints — point it at a QR label and it reads it. A two-person shop can run real scanning today on phones alone and add rugged handhelds later, when the pace asks for it.
Scanner compatibility is the easy part
If your scanner types the correct barcode into a text field and can send Enter afterward, you have the two behaviors Ordovee needs from a scanner for a fast, scanner-driven workflow — with the age of a built-in handheld being the separate question above. Start with the hardware you already have. If scan volume eventually justifies a dedicated handheld, you can move to one without changing the underlying workflow — once each part and location wears a scannable label, the guesswork of typing codes by hand is gone either way.
What the scan itself does is narrow and worth being precise about: it identifies a SKU or a location. The stock movement you then confirm is the thing that gets written down, and ledger-based inventory is where that record lives.
→ Have a scanner already? Test it as described above, then see the workflow it drives: scanner-first picking → Choosing hardware? The hardware compatibility reference lays out what ODV is tuned for
See Ordovee in your operation.
The fastest way to know if Ordovee fits your shop is to see the workflow with your own data — no slides, no scripted demo.