A first shelf can be called anything — Blue, Shelf 1, A1. Once every shelf, rack and box needs a name, the names need a system: one a person can follow to the right spot and a scanner can read, and one that still works when the space grows.
That system is a location naming convention: a consistent, scannable address for every spot an item can live. Here is how to design one, print it, and put it to work.
What is a warehouse location naming convention?
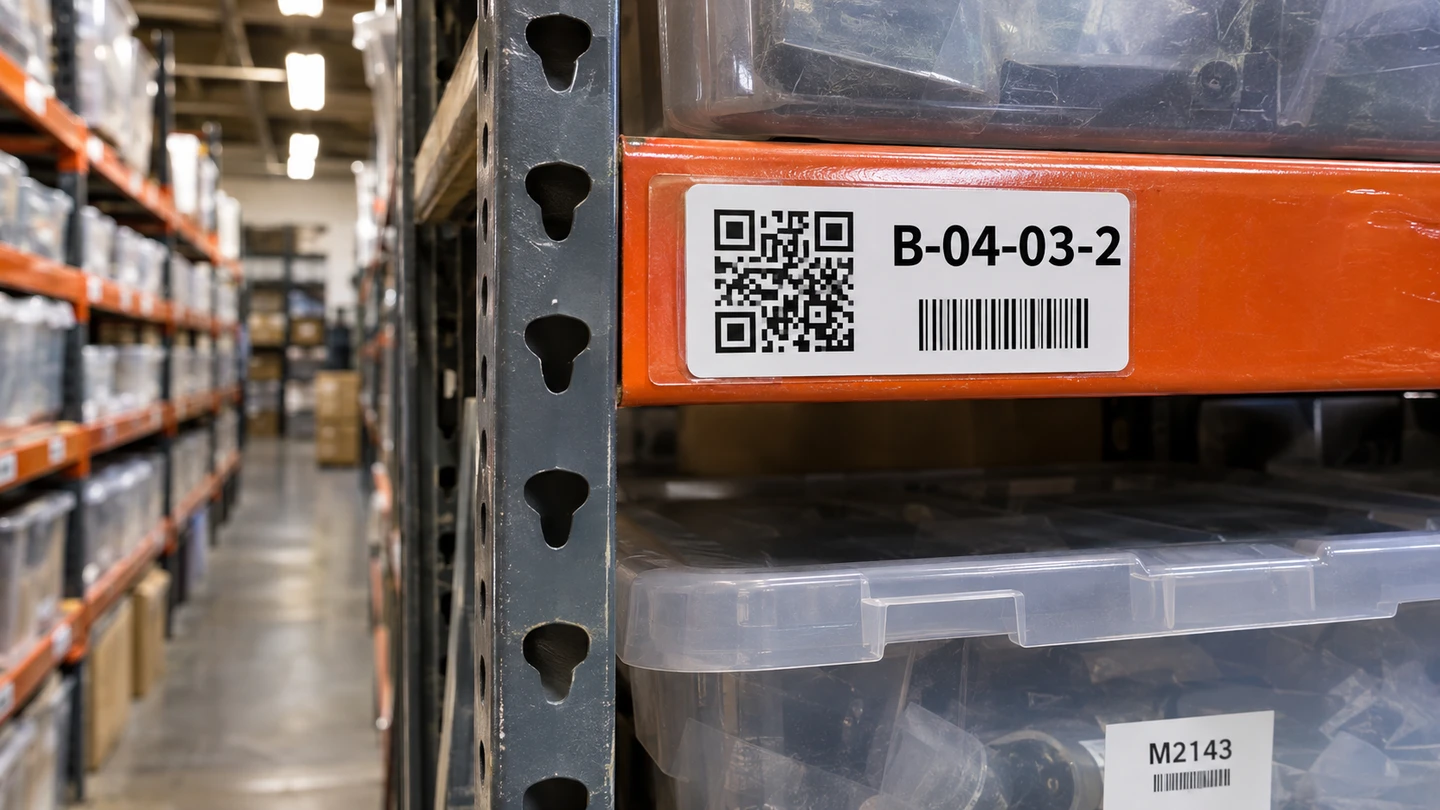
A warehouse location naming convention is a consistent address for every storage spot — zone, aisle, rack, shelf, bin — written the same way every time. A code like B-04-03-2 reads left to right from the widest area down to the exact bin, so a person can find it and a scanner can validate it.
Two rules make the codes behave:
- Leading zeros so they sort correctly. Pad any segment that could reach 10: write 04, not 4. Without the zero, a plain sort puts aisles 10, 11 and 12 between aisle 1 and aisle 2. With leading zeros, 01, 02, 03 … 10, 11 line up in number order.
- No special characters. Stick to letters, numbers, and a single separator like a hyphen. Spaces, slashes, and symbols trip up scanners and spreadsheets, and they make a code harder to read out loud.
Pick a depth that matches your space. A small operation might only need aisle-shelf-bin; a larger warehouse adds a zone letter in front. The point is that every code has the same shape, so B-04-03-2 and G-11-01-4 are the same kind of address in different places — whether the shelves are in a spare room, a garage or a warehouse.
How do you set up bin locations?
Work in five steps: design the scheme, generate the codes, print scannable labels, apply them at a consistent height, and test with a scan before you rely on it.
- Design the scheme. Decide how many levels you need — zone, aisle, rack, shelf, bin — and how wide each one goes. Leave room to grow: with eight aisles today, use two digits (01–99) so a tenth aisle doesn’t break the pattern.
- Generate the codes. List every spot as a code in a spreadsheet before you print anything. This is your master list, and it can double as the import file that creates the locations in an inventory system.
- Print scannable labels. Turn each code into a QR code or a barcode on a label — printed from your inventory system, or one at a time from the free label generator.
- Apply at a consistent height. Put every label in the same place — say, the top-left corner of each shelf at eye level. Consistency is what lets a picker find the label without hunting for it.
- Test with a scan. Walk the aisles with a phone or handheld and scan each label. A code that scans clean and matches your master list is done; anything that misreads gets reprinted now, not during a live pick.
How do you label locations so they scan every time?
Print each code as a QR or barcode on durable label stock. A label that peels, fades, or hides behind a bin is a label your team ends up typing by hand.
Two choices decide whether a label lasts:
- QR or barcode. A QR code is compact and holds more data, and most phone and tablet cameras read it directly. A 1D barcode is fine if your scanners expect one. The free label generator prints both, so choose the format your scanners already read; QR code or barcode? walks the choice.
- Durable stock. Cold aisles, dusty racks, and hands moving stock all day are hard on paper. For a location that will not move for years, a synthetic or laminated label outlasts plain paper. Label size and material is its own decision — the label sizes and materials walkthrough covers it.
Why does the location code matter on every pick?
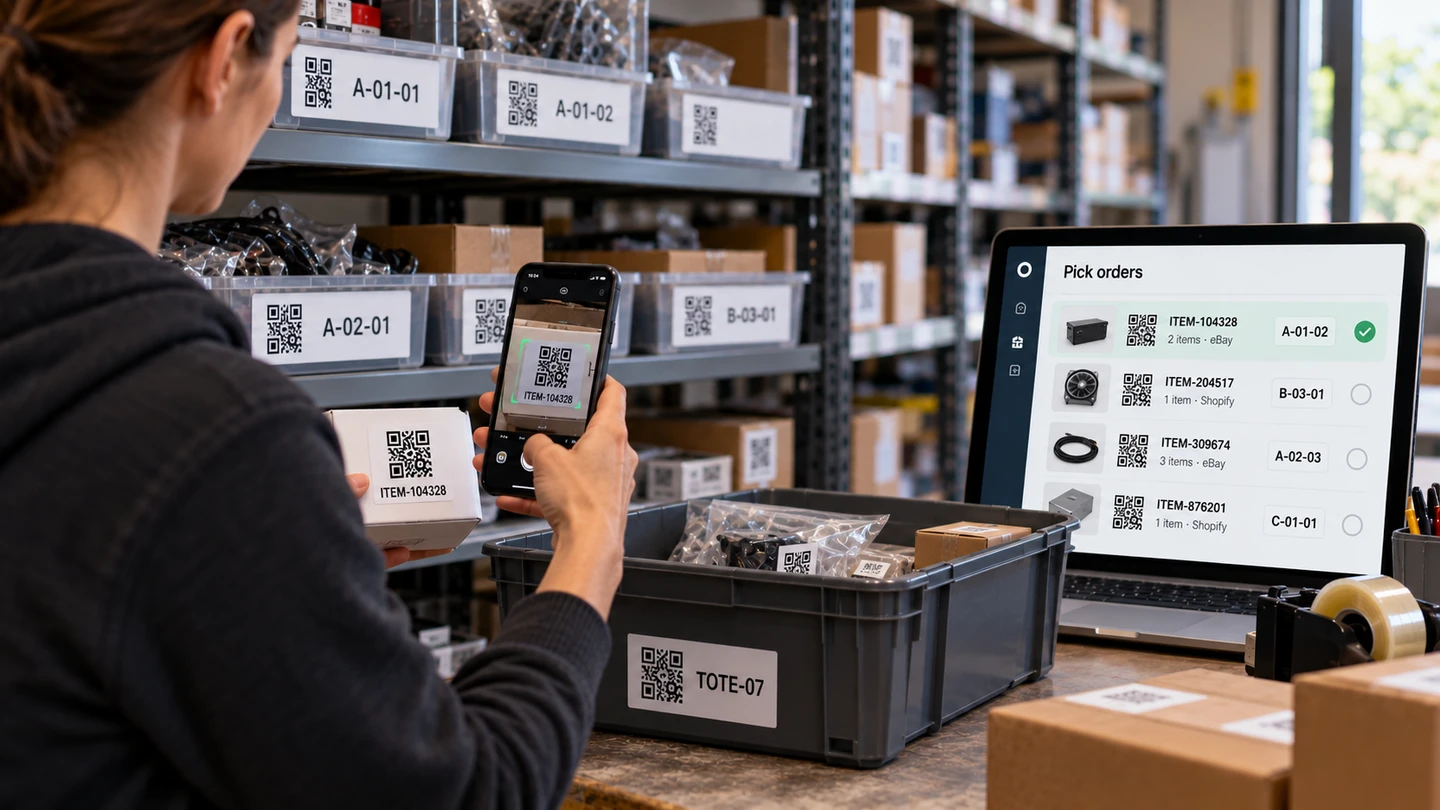
Because a verified pick starts with it. The pick shows where the item is stored, and the picker scans the label on that shelf before reaching for anything. If the shelf holds the item, the pick goes on; if it doesn’t, the scan says so on the spot — not later, when the count is off and the wrong item is already in the box. That is how a location code becomes a check on every pick.
Want to watch a location scan back up a picker before an item leaves the shelf? Walk through a scanner-first pass and see the check in action.
How should you number aisles so a picker doesn’t backtrack?
Number your aisles so a picker walks one continuous path instead of doubling back. The trick is serpentine numbering: the codes run up one aisle and down the next, so the route snakes through the warehouse in a single pass.
Picture the aisles as a grid. If every aisle numbers its racks in the same direction, a picker who finishes aisle 1 at the far end has to walk all the way back to start aisle 2. Serpentine numbering flips every other aisle: aisle 1’s racks run low-to-high, aisle 2’s run high-to-low, aisle 3’s low-to-high again. When picks are walked in location-code order, serpentine codes send the picker up one aisle and straight down the next, and the walk becomes a snake instead of a zigzag.
You do not have to renumber a working warehouse overnight. But if you are laying out codes for the first time, numbering them serpentine now means every pick list sorted by code already runs in walking order.
How this fits Ordovee
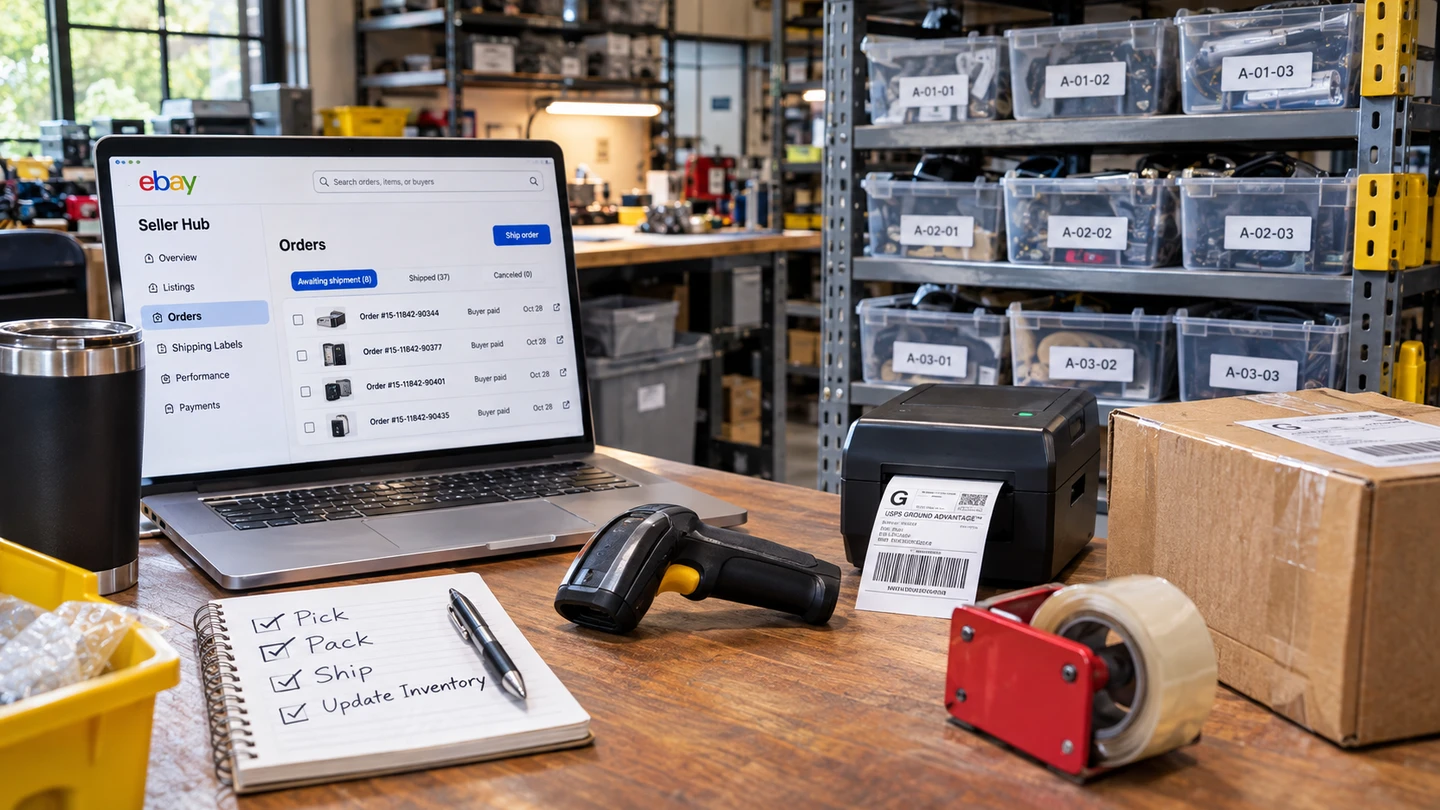
Ordovee is inventory and warehouse software for sellers on eBay, Shopify or both, and the location code is the address it uses wherever stock moves. The master list comes in as a spreadsheet import, every row previewed before anything is written, and Ordovee prints the location labels as QR codes, up to 500 in one PDF, in four sizes from 2×1 to 4×6.
Putting an item away is a scan of the location’s label, then the item’s, and searching a SKU shows every location holding it. On a pick, the location is the first of three scans — then the item, then the tote — and any location holding the item counts, so stock split across two shelves can be picked from either. A picking session walks its picks in location-code order, sorted by the code as written: the leading zeros keep aisle 10 after aisle 9, and serpentine numbering becomes a serpentine walk. The route is only as good as the numbering. The cycle count sheet follows location-code order too.
Get started with inventory control in Ordovee starts with locations too, then builds the rest of the setup on them.
The short version
- A location code is a consistent address — zone, aisle, rack, shelf, bin — with leading zeros so codes sort in number order and no special characters so scanners read them.
- Set up in five steps: design the scheme, generate the codes, print scannable labels, apply at a consistent height, test with a scan.
- Durable stock and consistent placement help a label stay readable; verify every one with a live scan.
- The code is the first scan on a verified pick, so a shelf that doesn’t hold the item is caught before anything comes off it.
- Number aisles serpentine so one continuous walk replaces the backtrack.
Location codes are the groundwork the rest of your warehouse stands on — picking, cycle counts, and accurate counts all assume every item has an address. Get the addresses right once, and every item you put away has an address you can find it by.
→ See a location scan validate a pick: Scanner-first picking on the warehouse floor → Print a location label, free: the free label generator → Keep counts accurate once locations exist: How to run a cycle count → See how locations fit the whole system → Planning your layout and want a second set of eyes? Map your warehouse with us
See Ordovee in your operation.
See how it works with your own inventory and workflow — no slides, no canned demo.