If you’re already selling on eBay, you don’t need to build your inventory catalog from scratch. Your listings contain much of the information Ordovee needs to get started.
Ordovee can create inventory records using your existing SKUs and listing titles, then use eBay’s available quantities to establish your opening inventory. From there, you work through your shelves to record where everything is stored.
You don’t need to reorganize your warehouse or complete every location in one day. The setup can happen alongside your normal work.
Before you begin: check your eBay listings
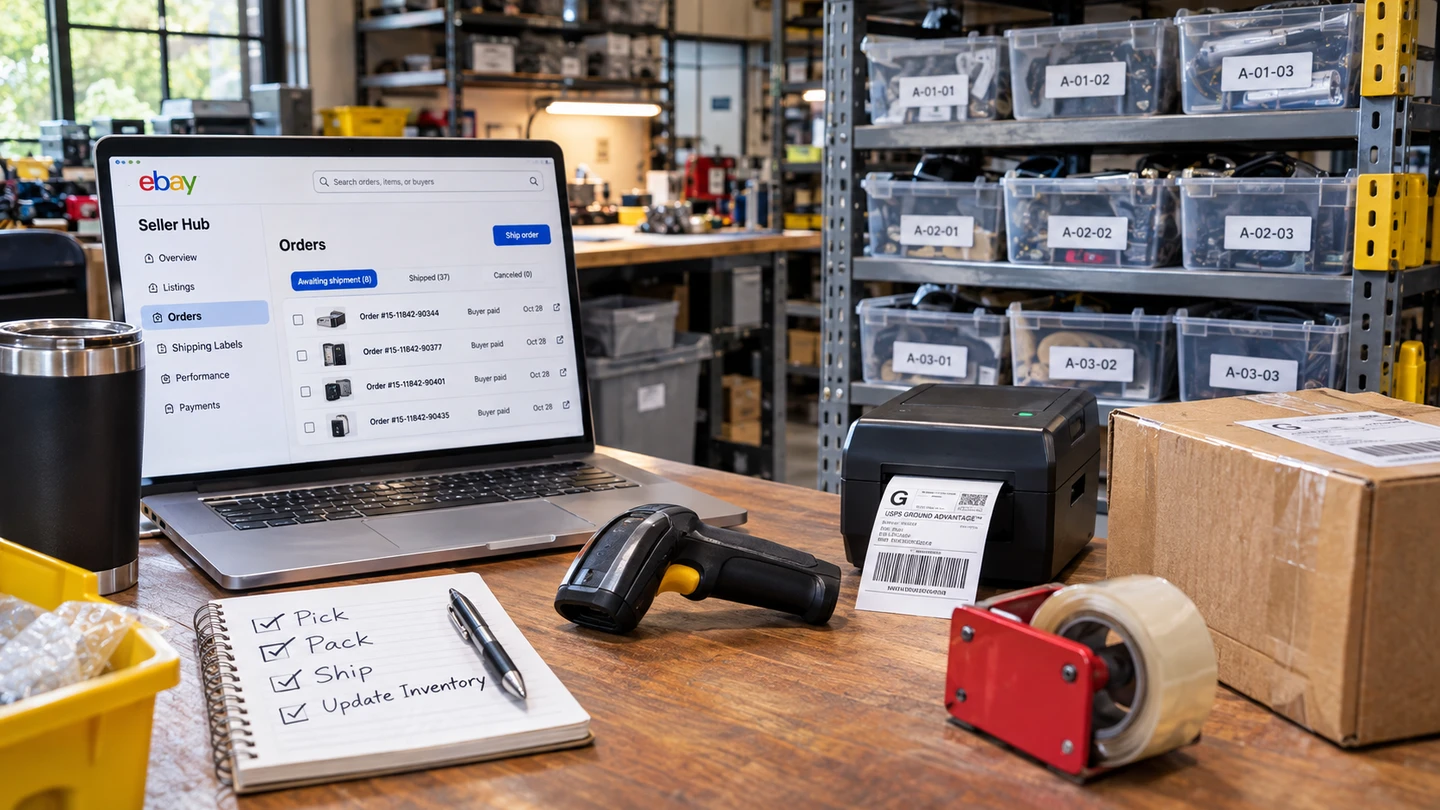
Ordovee uses the SKU on each eBay listing to connect it to an inventory item. eBay calls this field the Custom label.
For a listing to be imported automatically:
- It needs a SKU. Listings without one are skipped until you add a SKU.
- It cannot have variations. Listings offering multiple sizes, colors, or other variations under one listing aren’t supported by this import process.
- It must be active. You can also include ended listings by selecting Include inactive listings in both Create Items and Opening counts.
If an item with the same SKU already exists in Ordovee, it won’t be created again.
If some listings don’t have SKUs, use Clean SKUs on your eBay connection’s Setup & Import tab before importing. Our SKU strategy guide can help if you haven’t settled on a numbering system.
Complete this work before setting your opening quantities. That step runs only once per eBay connection and includes only listings that already have matching items.
If you rely heavily on variation listings, contact us before starting so we can review your catalog with you.
Step 1: connect eBay and sync your listings
Start with Connect eBay to Ordovee, which walks through the two authorizations and your first listings sync.
Once connected, open Setup & Import on your eBay connection. You’ll see the setup process in order:
Configure → Clean SKUs → Create Items → Opening counts → Go live
Ordovee works from its synchronized copy of your eBay listings. If you’ve recently added or changed SKUs on eBay, run another sync and let it finish before continuing. You can start one manually with Sync now on the tab instead of waiting for the next scheduled sync.
Step 2: create your inventory items
Open Create Items and select Preview.
Ordovee shows which items it will create and which listings it will skip because they don’t have SKUs. Review the results, then confirm.
Each new item starts with just two pieces of information from eBay: its SKU and its listing title.
That’s enough to create the inventory record. You’ll establish quantities next and assign storage locations afterward. Nothing about the listing on eBay is changed.
If you add more SKUs later, you can run Create Items again to bring in the remaining listings.
Step 3: establish your starting inventory
Now that the items exist, Ordovee needs to know how many you have.
Open Opening counts. You’ll see a starting location named START. Leave that setting as it is.
START is a temporary inventory location. It holds your opening quantities until you record the shelves where those items actually live.
Select Preview to see how many SKUs will receive starting quantities, then confirm. Ordovee takes the available quantity from each matching eBay listing and records it at START. The location is created automatically if it doesn’t exist.
For example, if an eBay listing shows three available, Ordovee records three units at START. You haven’t moved anything physically; you’ve simply established the beginning inventory record.
Treat eBay’s number as a starting point, not a verified count. Step 4 is where you check it against what’s actually on each shelf.
Opening counts is a one-time operation for each eBay connection. If a starting quantity turns out to be wrong, correct it on the item’s page using an inventory adjustment. Enter the difference and a reason for the change.
The final setup step, Go live, controls auto-push. Until you enable it, Ordovee won’t automatically send inventory quantity changes back to eBay. Review the eBay setup guide before turning it on.
If you used the setup wizard
The setup wizard may have already completed these steps for you.
Import Items from eBay creates the items, and Seed Inventory from eBay establishes the opening quantities.
The difference is the starting location. Instead of START, the wizard uses the location identified on that screen — the first of your active locations in alphabetical order.
When following the next step, use that location wherever the instructions refer to START.
Step 4: record where your inventory is stored
Your items now have quantities, but Ordovee still needs their actual storage locations.
The easiest way to handle this is one shelf at a time. You don’t need to move any physical stock. You’re updating its recorded location in Ordovee to match where it already sits.
Start with a shelf you can easily identify and work through these steps:
- Create the location. Open the locations list, select + Create Location, and give the shelf a location code. If you’ve already planned your warehouse layout, Add Locations can create multiple locations at once.
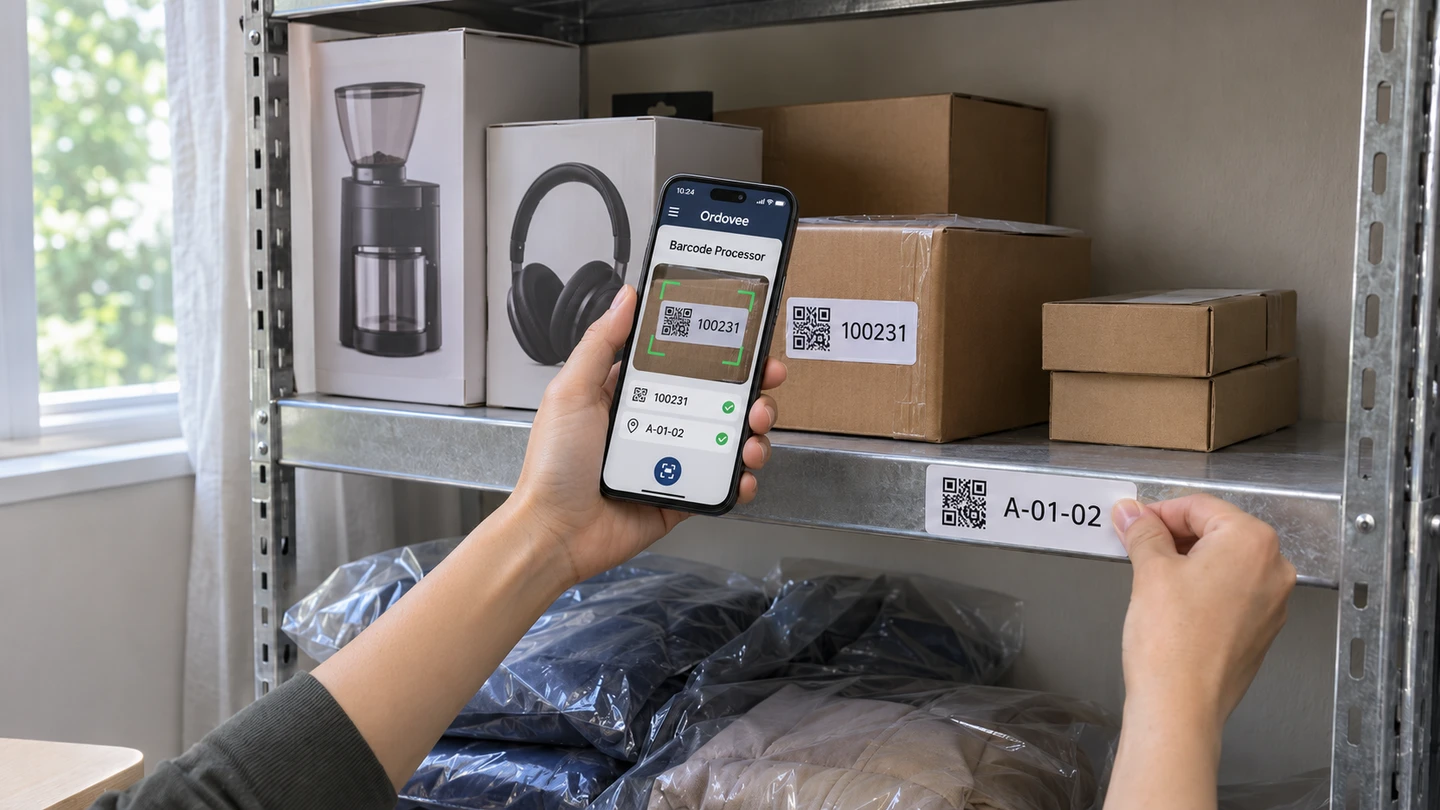
- Print the labels. Print the shelf’s QR label using Print Label on its location page. Print a label for START as well and keep it with you. If any items don’t have SKU labels, select them in the items list and use Print Labels.
- Remove the items from START. On a phone or handheld, open Remove Inventory. Scan the START label, then scan each item physically sitting on your chosen shelf. Each scan removes one unit from START.
- Add the items to their shelf. Open Add Inventory, scan the new shelf label, and scan those same items again. Each scan adds one unit to that shelf.
That’s it. Ordovee now knows where those items are stored.
Why both scans matter
Because you’re updating inventory records rather than physically relocating stock, each shelf requires both a removal and an addition.
If you only add the items to their shelf, Ordovee will count them twice: once at START and again at their actual location.
Between the removal and addition, the recorded total is temporarily lower. If auto-push is enabled and a quantity update goes to eBay during that gap, eBay could receive the lower number. Complete both passes for each shelf before moving to the next. If auto-push is already on, move items with Transfer on the Inventory page instead: pick the item, from START to the shelf, and the quantity. The total never dips, so eBay never sees a lower number.
You might also discover more physical units than eBay originally showed. If START has no units left to remove, add the extra units directly to the shelf with Add Inventory. There’s no corresponding quantity to remove from START.
You can finish the warehouse gradually
Everything you haven’t processed remains at your starting location (normally START). You can complete one shelf, stop, and continue another day.
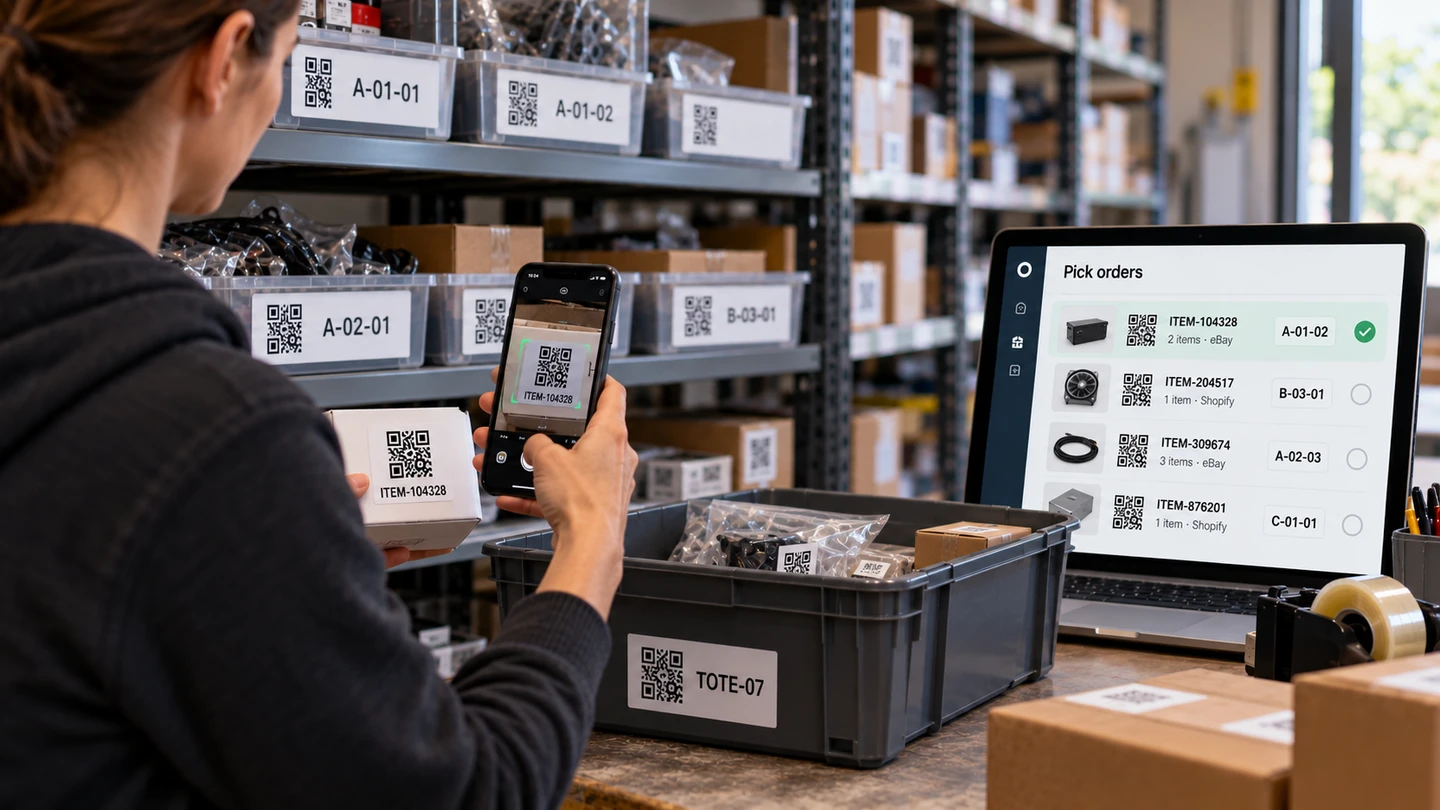
As each shelf is completed, its items are recorded at their actual locations in Ordovee. When one of those items sells, the picking instructions can direct you to the correct shelf.
Once you’ve worked through the warehouse, review anything still recorded at START. Those are quantities you haven’t matched to a physical location. Find the remaining stock or correct the inventory record if the original count was wrong.
For help organizing the work, see the one-shelf method.
Improve your item records when needed
After importing, your items will have their existing eBay titles and SKUs. That’s enough to identify them, print labels, track inventory, and pick orders.
You can add more information later, including brand, manufacturer part number (MPN), condition, category, and description.
There’s no need to complete every field before using Ordovee. Add information when it becomes useful, either on individual item pages or through a CSV import that matches existing records by SKU.
The important work is getting your inventory counted, located, and ready for daily operations. The catalog can improve over time.
An alternative: review listings before importing
The Create Items process is designed to bring in existing listings with minimal editing. If you’d rather inspect each listing and make changes before creating its item, use Import review instead of Step 2.
On the Apps Hub, open the Import review card for your eBay connection. This takes you to the From eBay tab of Create items.
You’ll see active eBay listings that don’t yet have matching inventory items, including listings without SKUs.
Here you can edit a proposed item’s title or SKU, use Generate missing SKUs to assign codes from your account’s number sequence, and select Add to catalog when you’re satisfied.
This creates the item records but doesn’t establish quantities or locations.
One important distinction: Import review doesn’t write SKUs back to eBay.
The SKU in Ordovee must match the Custom label on the eBay listing. That match is how Ordovee connects incoming orders, opening counts, and automatic quantity updates to the correct item.
If the listing already has a SKU, keep it. If you’ve generated one for a listing that didn’t have one, add that same SKU to its eBay Custom label, either through Clean SKUs or directly in eBay. Then run another listings sync before setting your opening quantities.
Continue with Opening counts afterward.
What comes next
Once your items have been imported and you’ve started assigning locations, you’re ready to use Ordovee for everyday inventory work.
- Picking orders: The scanner-first picking guide shows how to locate, verify, and pick items using a phone or handheld scanner.
- Seeing it on a real order: eBay inventory management with Ordovee follows an eBay order from the moment it arrives to the point where it’s ready to pack.
- Receiving new inventory: New stock can go directly into its assigned location using Add Inventory. There’s no need to put it through START.
- Adding new eBay listings: Listings without a SKU, or with a SKU not yet in your catalog, will appear in Import review, where you can bring them into your catalog.
- Managing the full workflow: Get started with inventory control in Ordovee covers order reservations, picking, fulfillment, and keeping marketplace quantities aligned.
You don’t need a perfect warehouse or a fully detailed catalog to begin. Start with the inventory you already have, record where it lives, and build from there.
If you’d like help working through your first setup, talk to us. We can use your actual listings and warehouse layout rather than a sample catalog.
See Ordovee in your operation.
See how it works with your own inventory and workflow — no slides, no canned demo.