You bought a thermal printer to label parts and shelves, and now you are wondering whether you need special software to make it print — or the labels are coming out so faint a scanner can barely read them.
Label printing is one of the simpler parts of running a parts operation, and most problems have a short fix.
Five decisions get a thermal printer working on a parts bench: how it connects, which stock to use, how to fix a faint print, fanfold versus roll, and which label sizes to keep around. None depends on which inventory system you use.
Do I need special software to print labels?
In practice, inventory systems usually print labels one of two ways. Which one yours uses determines your printer options.
The first is the printer’s own language. Zebra printers speak ZPL, older ones EPL, and other manufacturers have their own. Software written this way sends commands directly to the printer — fast and precise, but limited to the printers that software supports.
The second is a normal print job. The software builds a PDF, hands it to the operating system, and the printer’s ordinary driver does the rest.
Find out which yours uses before you buy hardware. If your software produces a normal PDF, you are not locked to a particular printer language. Any printer your device can send that PDF to at the correct size is an option — Zebra, Dymo, Brother, ROLLO, or something else.
One print setting matters either way: choose 100% or Actual Size, never Fit. Fit shrinks the label to the paper margins and can leave a QR code too small to scan. Set the printer to the correct label size and print at 100%.
Connecting the printer
Whatever sends the print job — desktop, tablet, or handheld — has to be able to reach the printer.
For most desks, USB is the simplest path. Plug the printer in, install the basic driver, and it appears in the print dialog like any other printer. USB ties it to that machine, which is often exactly what you want at a dedicated labelling station.
A network printer is worth having when more than one station needs to print. Put it on the network and any configured computer can send it a label. A tablet or handheld can do the same when its operating system or print service can see the printer.
Between two otherwise similar printers, the networked one becomes worth the premium the first time someone needs a location label without walking back to your desk.
The three printers we run, and where each one fits
Our general recommendation on the hardware page is to buy used Zebras. They are built for commercial use, get retired in volume, and are easy to find secondhand — the same logic behind the used Zebra handhelds we buy.
These are the three printers we have run ourselves.
Zebra LP2844-Z — the value pick. A compact direct-thermal printer that feeds fanfold stock through the back, so you can buy labels in bulk instead of relying on small desktop rolls. Our units are USB-connected and stay with one computer. Ethernet-equipped versions existed too, so check the ports on the actual printer before buying. This is also the printer behind the faint-label section below: on the units we have run, speed and darkness fixed what initially looked like a tired printhead.
Zebra GK420d — the networked desk printer. A newer direct-thermal desktop Zebra and one of the models we look for when we want Ethernet. If more than one station needs labels, hunt for a used GK420d with the internal network option — not every unit has it.
Zebra ZM400 — our workhorse. This is what we run most of our own labels on. It is huge, built like a tank, and holds large rolls internally so the stock stays clean between runs. It is the roll-fed setup described below, just at industrial scale.
Which model to buy, what to pay, and what to check before committing are covered on the hardware page. This guide starts once the printer is on the bench.
Direct thermal or thermal transfer — which stock?
For most indoor part and location labels, direct thermal is enough. It needs no ribbon, keeps the printer simple, and works well for ordinary part, location, shipping, and picking labels.
Thermal transfer requires a printer that supports a ribbon, but it earns its keep when a label needs to survive years, sunlight, abrasion, oil, or chemicals.
A pick or packing label generated fresh for each order can be inexpensive direct thermal. A permanent shelf or part tag in a harsh corner of the warehouse may justify thermal transfer on polyester.
The full breakdown of materials and sizes — including options that handle oil and other abuse — is in the label sizes and materials guide.
Why is my thermal printer printing too light?
Start with settings before you start buying parts.
On older secondhand printers, speed and darkness are the first two things worth checking. We have seen plenty of older Zebras that looked like they had tired printheads simply because they were being driven too fast for the label stock.
Work through these in order. Don’t buy a printhead until the first six are ruled out.
- Darkness. Raise the darkness setting a step or two.
- Speed. Slow the print speed a notch. A slower pass gives the printhead more time to darken each dot.
- Printhead. Clean it with the manufacturer’s cleaning pen or an alcohol swab. Adhesive and dust build up quickly.
- Platen roller. Clean the rubber roller under the printhead. A glazed or damaged platen can produce uneven print.
- Media. Confirm you are using direct-thermal labels. Thermal-transfer stock without a ribbon comes out blank or ghostly and can look like a printer fault.
- Power supply. Use the correct supply specified for the printer. A wrong or weak supply can leave the print light regardless of the darkness setting.
- Printhead wear. Only after everything above. A genuinely worn printhead usually shows consistent faint stripes or gaps that cleaning does not change.
Before committing a whole warehouse to the setup, print a test label with the free label generator, scan it, and adjust until it reads clean on the first pass.
Fanfold or roll, and which label sizes
Roll and fanfold stock do the same job. The difference is how the labels are packaged and where they sit.
A roll loads inside the printer and keeps everything contained. Fanfold stock sits in a stack behind the printer and feeds through a rear media slot. For higher-volume work, fanfold can be convenient and is often cheaper per label than small desktop rolls.
Most parts operations can do nearly everything with two sizes:
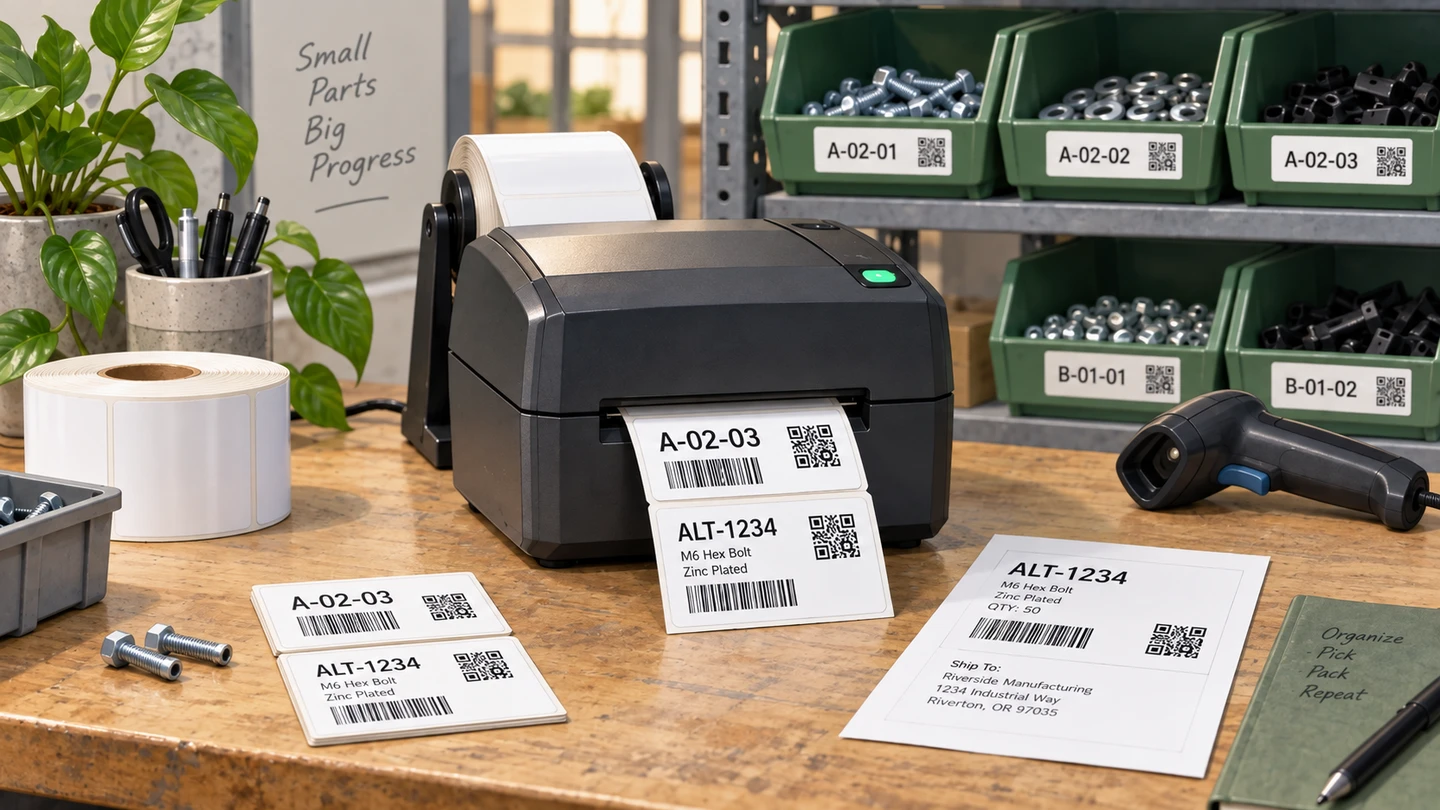
- 2 × 1 inch for SKU and location labels — readable text plus a barcode or QR code the scanner reads back. QR versus a 1D barcode is its own small decision; either fits.
- 4 × 6 inch for packing slips — order details plus a code the packer scans to confirm the right parts went into the right box, the final check in the order lifecycle.
Plenty of shops end up with two printers: the 4 × 6 thermal already printing carrier labels handles packing slips at the packing station, while a smaller 2 × 1 printer handles part and location labels at the inventory desk.
Labels are half the setup — the scanner is the other half
A label is only useful if something reads it.
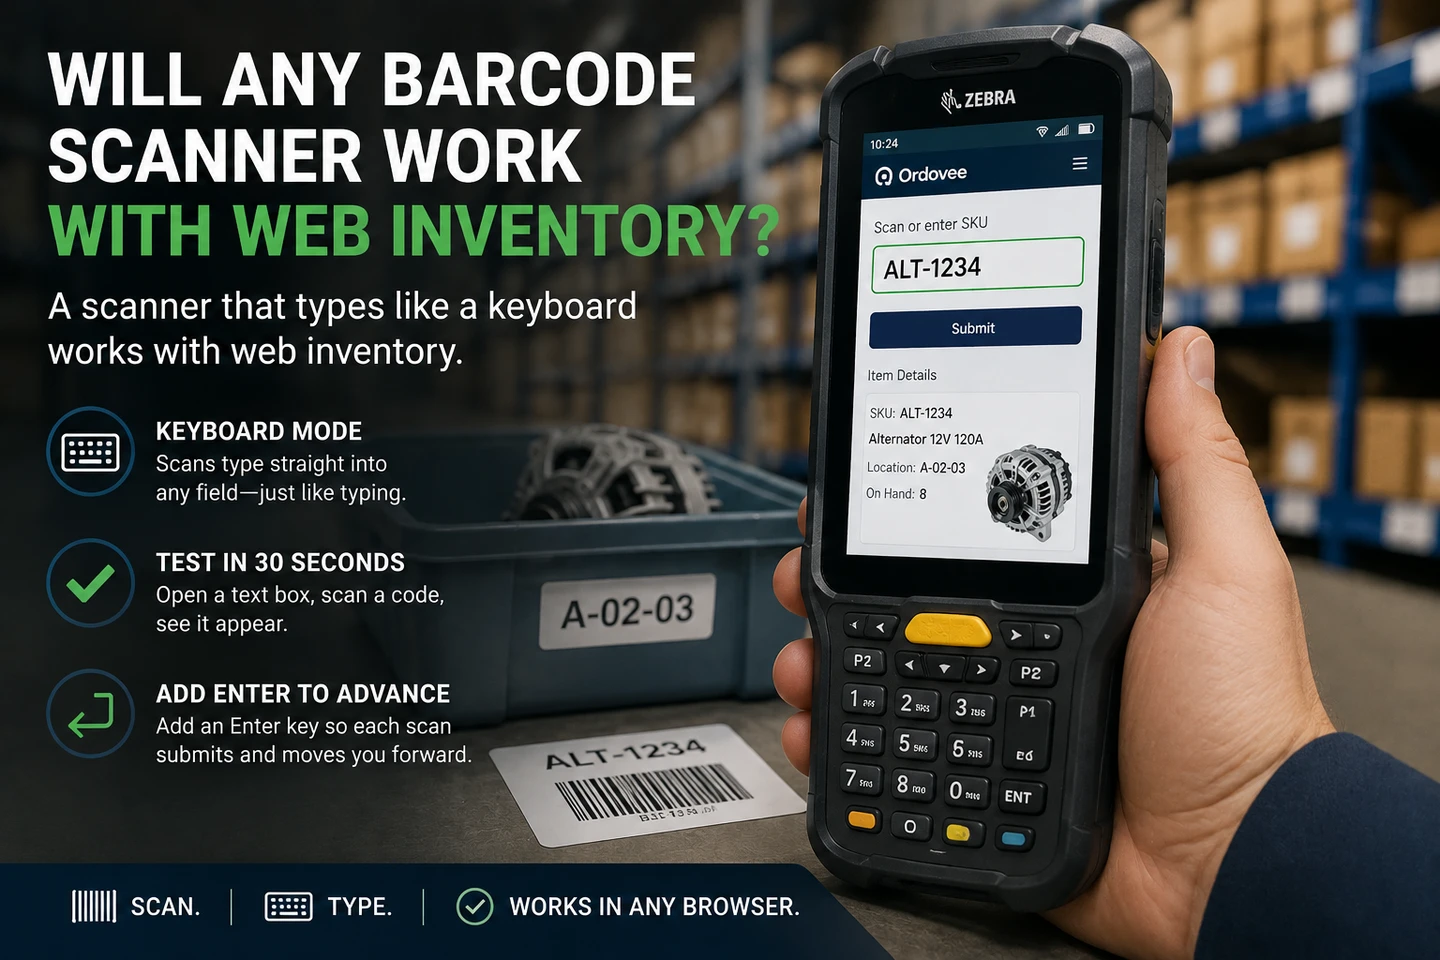
Once your labels print clean, the Zebra DataWedge setup guide gets a handheld reading them, and the scanner-first picking guide shows how those labels drive a pick from location to confirmation.
If your shelves are not named yet, organizing a warehouse one shelf at a time is where the location labels start. For the full hardware shopping list, see the hardware and software guide.
How this fits Ordovee
Ordovee does not require a particular printer brand or printer language.
Part labels, location labels, and packing slips are generated as correctly sized PDFs, and the device’s normal print system handles the printer. There is nothing to install inside Ordovee and no printer-specific integration to maintain.
For larger jobs, Ordovee can build a single multi-page PDF of up to 500 labels. Print the batch, peel, and stick instead of opening a separate print job for every part or location.
All three printers above handle those PDFs. The product overview shows where labels fit into the rest of the workflow.
Getting your labels printing
A thermal printer, the right stock, and a few basic settings are most of the job.
Once the labels come out dark and scan on the first pass, the printer stops being something you think about. Every part and shelf carries a code your team can read, and every packing slip gives the packer one more way to confirm the right parts are leaving.
Weighing a printer, sorting out a faint one, or want a second opinion before buying a case of labels?
→ Talk through your printer setup
See Ordovee in your operation.
The fastest way to know if ODV fits your shop is to see the workflow with your own data — no slides, no scripted demo.