Most of the software demos we have sat through ran on the vendor’s own data — a tidy catalog, products with quantities in the dozens, orders that already exist. That is nobody’s fault; it is the data the vendor has. But it shows you a screen, and what you need to know is whether the software works for a shop that takes units apart and sells the parts — disassembly, or dismantling, or parting out, depending on who you ask.
Your day does not start with a product. It starts with a unit — a washer, a laptop, a mower, an outboard — that becomes twenty parts nobody has a record for yet, most of them one-of-a-kind until the next unit like it comes through the door. A demo that starts there tells both of you, quickly, whether this is a fit.
So bring a unit. Below is the demo we would ask for from any inventory vendor, in the order the work happens, followed by the three questions a good vendor will ask you first. Bring the answers to those too; they help the vendor show you the right things.
A good vendor wants this demo as much as you do. You are both trying to find out whether you will be working together for years, and a real unit on the bench is the quickest honest way to find out.
- Bring a unit their catalog has never seen.
- Record what it is before a part comes off.
- Fifteen parts, assigned to the right SKUs at the bench.
- Print a label and scan the part onto a shelf.
- Link one part to several models, then search back from the model.
- Two of the same part, different condition — kept apart.
- Sell one, and watch every place it was advertised go unavailable.
- Pick it: location, part, cart bin.
- Put a return back on the shelf, with the reason.
- Export everything, and check the fits came out whole.
Take the steps in order — each depends on the one before — on the same unit and the same parts, start to finish. Where a step cannot be shown, ask how a shop would handle it instead and write that down. At the end you have a plain record of what you saw, and both sides know where the fit is strong and where it needs a conversation.
1. Bring a unit their catalog has never seen
Bring something off your own dock, photographed the way it came in — a make and model the vendor’s demo catalog does not already contain. A washing machine, a laptop, a lawn tractor, an outboard: whatever arrived this week.
The reason is simple, and worth saying to the vendor: a unit that is nobody’s catalog entry has to be accepted anyway, because for a shop that takes whatever comes through the door, most units arrive that way. Watch how it goes in. Can the person driving create the make and model on the spot and start, or does the unit have to exist as a product first? How many screens sit between “this arrived” and “start taking it apart”? Does the demo have to step outside the system to look something up?
If the vendor would rather use one of their own units for the walkthrough, ask for both: theirs to learn the screens, yours to learn the fit.
2. Record what the unit is before any part comes off
Identity first. The make, the model, the year, the configuration, the revision — whatever distinguishes this machine from another model in the catalog. That record is what every part off it will point back to, so ask to see it created before the first screw comes out. The make and model — the source assembly the parts come off — has to become a real structured record before the parts start coming off, and those identifying details should live on that record rather than being buried in a part description. The donor unit on your bench is one of that model.
Then ask where that identity lives afterward. When the same model comes in again next year, can someone search it and see which parts the shop already carries for it? Can they open a part and see the model it came off? A description field that mentions the model is a note; what you are asking to see is a record that other records point to.
3. Fifteen parts, created at the bench
Now take it apart — or hand the vendor the parts list from a unit you already did. Fifteen parts come off. Each one needs its own record, created at the bench while the part is in someone’s hand, not typed into a spreadsheet at the end of the day.
Ask for the fifteen to be created in one pass, and ask who assigns the numbers. A SKU identifies the inventory record you sell and track. The manufacturer’s part number identifies the design. Two interchangeable pumps in the same condition may belong under one SKU with a quantity of two. But if condition, revision, configuration, or another sale-relevant difference means the buyer needs to distinguish them, they need separate records and separate SKUs. Ask how the system keeps those two ideas — the record you sell and the design it is a copy of — apart.
Then open one record and read the fields together. Condition. The part number. Brand. A place for the note the bench actually writes — “housing cracked, motor good.” You are not looking for a hundred fields; you are looking for the handful the lister needs when the part goes up for sale.
4. Print a label and scan it to a shelf
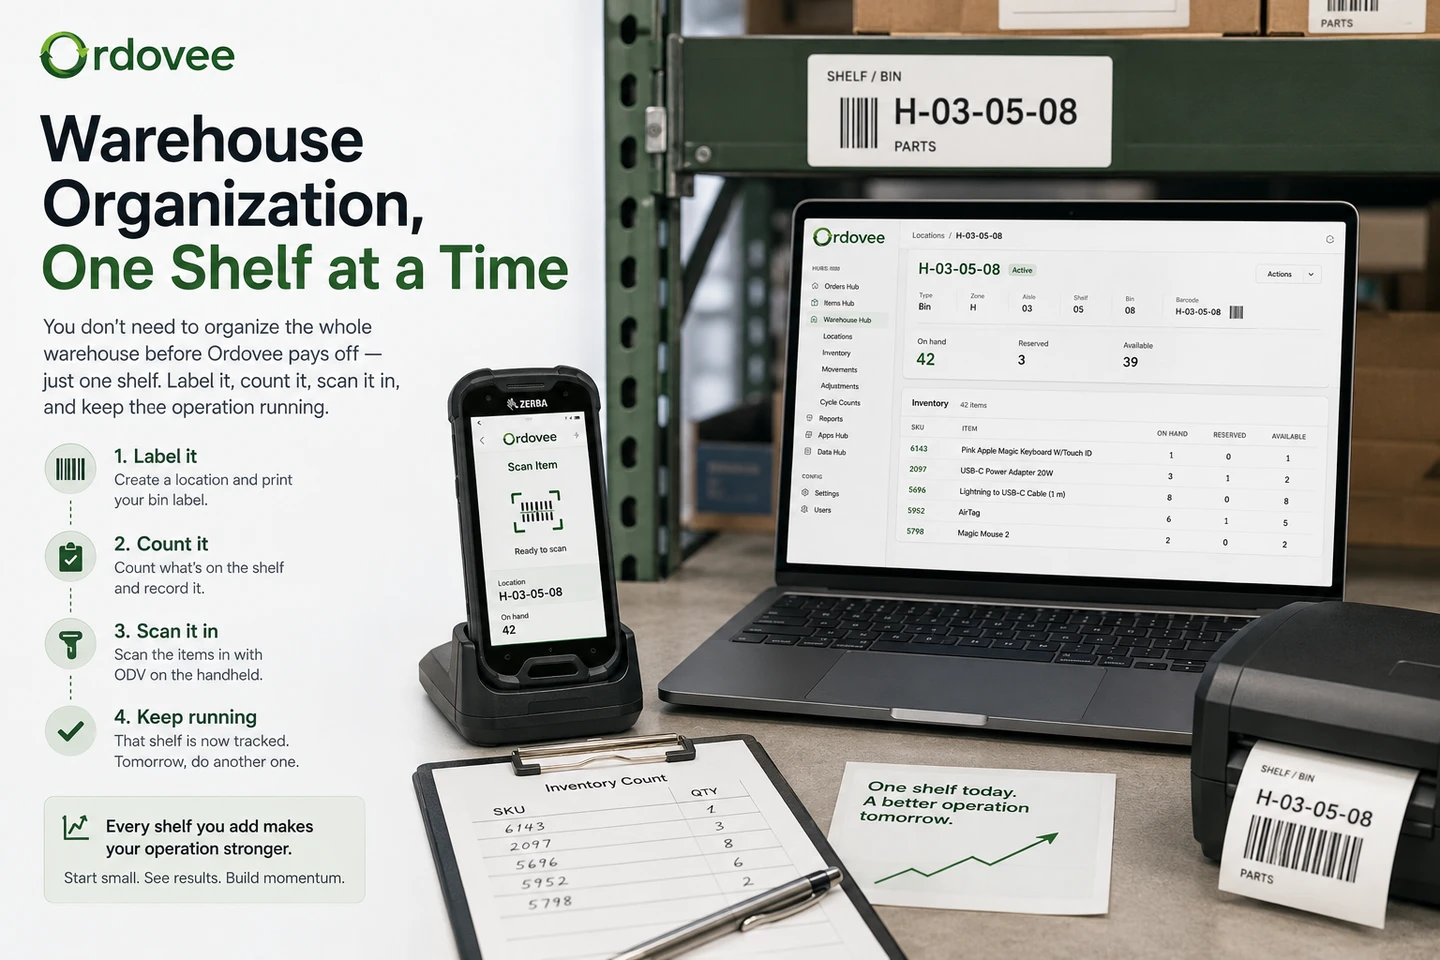
Ask for a label for one of the fifteen, printed right there — SKU, a short title, a code a scanner can read. Stick it on the part. Then walk it to a shelf and scan it in, so the part’s record now says where it is.
Two things to ask about. First, what the printing takes: does the system print the label itself, or hand you a file any label printer can print? Either works; you want to know which before you buy a printer. Second, what the shelf is: a location with its own code on the shelf edge — one location code per shelf, so the bin a part sits in is a scan away — or a free-text field where someone types “blue rack by the door.” Ask how a new shelf gets its code. If your shelves are not named yet, naming them one shelf at a time is the habit to build first, and the demo is a good place to see what your location codes will look like.
Then find it both ways. Search the SKU and see the shelf. Search the shelf and see everything on it.
5. Link one part to several models — and search back the other way
This is the step that separates a parts system from a product system, and it is the one most worth the vendor’s time. Take one part off the unit — a control board, a pump, a fan — and link it to the model it came off. Then link it to two more models it also fits. That is the cross-reference — the interchange you build yourself, one part at a time — and it is the knowledge your shop accumulates, one unit after another.
Now search from the other side. Pick one of those models and ask: what do we have that fits this? The part should show up. Then pick the part and ask what it fits: all three models. When the links read from both sides, a customer question that starts with a model number becomes a search instead of a walk to the shelf.
Two more things to ask while you are here. Whether a link can carry a note — “verified on the bench,” “fits per the service manual,” “unverified” — because a fit you are sure of and a fit you inferred are different things at listing time. And who owns the data, which comes up again at step 10. Reading the cross-reference from either end — the reverse lookup at teardown and the forward lookup on a model — is its own guide.
6. Two of the same part, different condition, kept separate
Pull the same part off a second unit, or use two you already have. Two drain pumps, same part number, one clean, one with a cracked housing that still runs. At the point of sale they are not the same thing, and the buyer who paid for the clean one should get it.
This is the deliberate test of step 3’s rule. Ask the system to hold them as two records — two SKUs, one shared part number, two conditions, each on its own shelf. Then search the part number. Both come up, and you can tell which is which without opening either. Sell the clean one in the next step and confirm the cracked one is still for sale.
Then ask the other side of the same question: if a third pump arrives, identical to the clean one, can it join that SKU as a quantity of two? A system that handles both cases — kept apart when the difference matters to a buyer, pooled when it does not — is one that understands how parts sell.
7. List it, sell one, and watch every place it was advertised go unavailable
Take one of the fifteen with a quantity of one and put it up for sale where you actually sell — eBay, a Shopify store, both. Ask how the listing and the record are tied together; the answer is usually the SKU, and it is worth seeing on screen. Ask who writes the listing — the system, or you on the marketplace. Either answer is fine; you just need to know which, because it decides what else you will be running alongside.
Then sell it — a real test order if the vendor can arrange one, a sandbox order if not. Now watch every place that part was advertised: the eBay listing, the Shopify product, the counter. Each of them should stop selling it. Ask what triggers the update and how long the window is between the sale and the other listings coming down. The honest answer has two parts — what triggers it and how long it takes — and both are worth writing down.
Two follow-ups earn their time. What happens when the same part is listed twice on the same marketplace, under one SKU? And what happens when it sells over the counter, with no marketplace involved — how do you take it out, and does that reach the listings the same way? The window in which a one-of-a-kind part gets sold twice is the whole reason this step exists.
8. Pick it by scanning the shelf, the part and the cart bin
The order from step 7 is now waiting. Ask for it to be picked the way your picker would pick it — on a handheld or a phone, in the aisle. Scan the storage location. Scan the part. Scan the order’s cart bin. The first scan proves you are standing in the right place, the second proves you picked the right SKU, and the third proves you put it with the right order.
Then, with the vendor, try each one wrong: the wrong location, the wrong SKU (the look-alike part from step 6), the wrong cart bin. What you want to see is the system catching it in the aisle, and what it records when it does. A mis-pick caught at the shelf costs nothing; one caught by the buyer costs the sale, the return shipping and the feedback.
Ask for the packing slip while the order is open — printed on demand, with the SKU and a code the packer can check against the box. Picking by scan has its own guide, including the three scans and what a picker sees when one of them is wrong.
9. Put a return back on the shelf
The part comes back. The buyer changed their mind, or it arrived damaged, or it was the wrong one after all. Ask to see what a return looks like: the part goes back into stock, on a shelf, with the reason recorded, and the part’s history shows that it happened. Then open that history and read it as a list of what happened to the part — created, shelved, sold, picked, back in stock — with a line for each event, not a count that was quietly overwritten. If the history is only a number that changed, the story of that part is gone.
Run the other version too. A part that was damaged on the shelf and never sold: adjust it out, with the reason. Ask what the history shows, and who it says did it.
This step looks small. It is the one that decides whether you can answer “why is the count off?” a year from now, or only “the count is off.”
10. Export — and check the fits came out whole
Last, ask for everything out. Parts, locations, quantities, the models, and the links between parts and models — as files you can open, exported by you, without a support ticket.
Open the compatibility file and look at its shape. What you want is one row per part-to-model pair: the part, the model, and whatever the link carried. Sometimes the fits come out flattened into a text field on the part, or the file has every part and no links at all. That file is what you would carry to the next system, and the links are the part of it you built by hand. If they come out whole, the catalog you build stays yours wherever you take it.
Ask whether that same file could come back in through the system’s own import. The door in and the door out should be the same door, and it is fair to ask to see both. What a careful import looks like — previewed before it commits — is its own guide.
The three questions a good vendor will ask you
Expect some version of the same three questions from the vendor, usually before the demo starts — asked not to qualify you out, but because the answers decide what they should show you. Have them ready; they are your requirements in three lines.
What do you tear down? One product family, or whatever comes through the door? A shop that does one kind of thing — cars, say — may find a licensed catalog that already knows its parts. A shop that takes apart appliances on Monday, laptops on Tuesday and a tractor on Friday — a generalist dismantler, the mixed-category shop — builds its own. The answer decides whether step 5 is a lookup or a record, and it tells the vendor which parts of their system matter to you.
Which channels do you sell on? eBay, your own store, over the counter, wholesale to other shops, all of the above. The answer decides which sync matters in step 7, whether you need the system to write listings or only to keep quantities honest, and whether the counter sale is a channel the software has to know about.
How are your shelves named today? Codes on every shelf edge, codes on some, or “the blue rack by the door.” There is no wrong answer, but the vendor needs it to know whether step 4 starts from a clean map of locations or from one labelled shelf in an otherwise unlabelled building — and that is a conversation worth having before the demo, not after.
Where compatibility shows on eBay, and where it doesn’t
One more question, and it is the one buyers forget to ask: exactly where does the compatible-model list appear on the marketplace?
eBay’s structured parts-compatibility system applies only to supported Motors Parts & Accessories categories. Cars and trucks, motorcycles and powersports have broad support, but support is category-specific rather than universal. Outside those supported vehicle-parts categories — appliances, computers, electronics and most equipment — there is no equivalent marketplace fitment table. The compatible-model list goes into the listing text — the title, the item specifics, the description — in your own words, every time.
So there are two separate things, and the demo should show you both. One is the compatibility record inside your system — the one you built in step 5 and exported in step 10. The other is what a buyer sees on the listing. A system can hold the first for you; the second is written by whoever writes the listing, and a good compatibility record is what makes that a copy-and-paste instead of a search of someone’s memory. Where that list goes on a non-automotive eBay listing, and how to keep it ready so you are not rebuilding it each time, is a subject of its own.
How this fits Ordovee
Ordovee was designed for the operation this list describes, and it is the demo we would rather run with you. Here is how the steps land in it, from the facts we can stand behind.
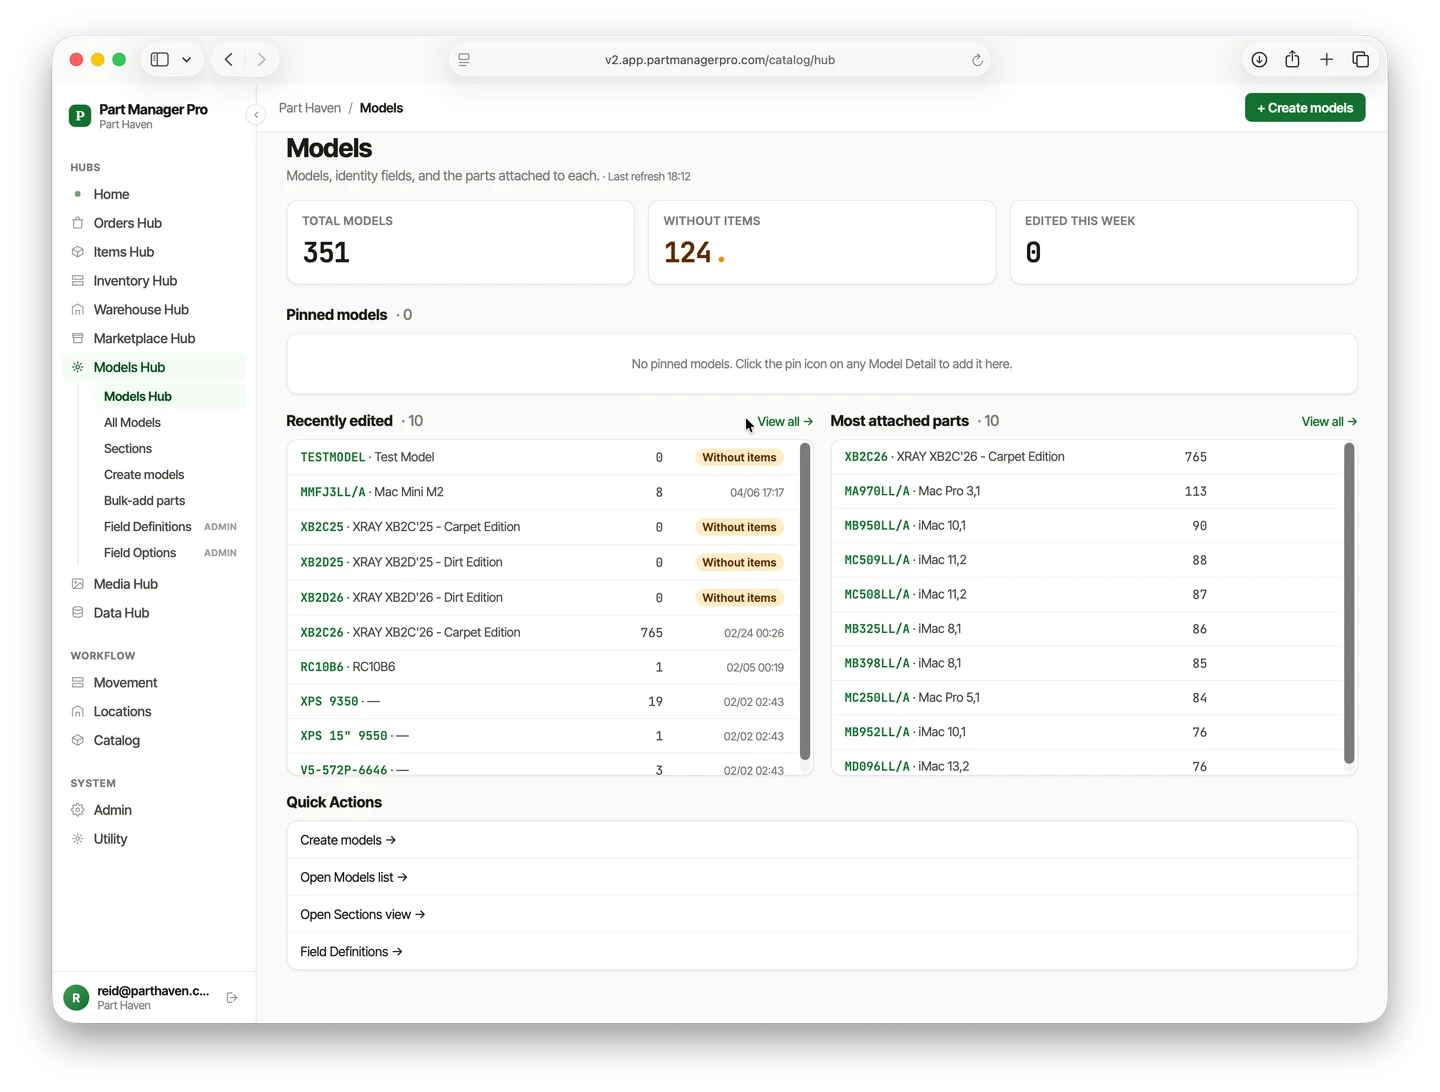
Ordovee records the unit as what it is — the make and model, which Ordovee calls the source assembly — and every part that comes off it links to that model. The record is the model, not the individual unit: when the same model comes in again, its record already lists every part you have linked to it.
At the bench, Ordovee can assign the SKUs — a six-digit number from one counter — or take the ones you type. The SKU is the only field that has to be unique: two interchangeable parts in the same condition can share one SKU with a quantity, and two parts that share a manufacturer part number can keep separate records, separate SKUs and separate conditions when the difference matters to the buyer.
Every part links to the assemblies it fits, the one it came off among them, with an optional role and confidence on each link, and the list reads from either side: open a part and see its models, open a model and see its parts.
Once auto-push is on — it is off until you turn it on — every active eBay listing on the connected account that carries the SKU is set to the item’s available quantity on the next push, and a Shopify store the same way, one variant per SKU, once you have told it which Shopify location to push to. The listing itself is yours: Ordovee moves the number and writes nothing else to the listing. The title, photos, price and description are whatever you wrote.
A sale that cannot be filled is cancelled on the marketplace, and Ordovee imports the cancellation and releases the hold. A tested return is added back through the normal inventory movement flow — with the reason recorded when you give one — and the ledger preserves that inventory change as its own entry rather than silently replacing the count. Packing slips print on demand, as a 4 × 6 PDF the packer can scan.
The export covers the parts, the assemblies, the links between them, inventory and orders — a download you run yourself, any day.
And the demo itself: every new account starts with three hours of guided launch. Bring the unit, and we run this list with your parts, together. The product overview shows where each step sits in the rest of the system.
Running the demo
Ten steps, one unit, start to finish. What you have at the end is not a feature list. It is a record of what happened to one part from the dock to the export, and a clear picture — for both sides — of where the fit is strong and where it needs a conversation.
Bring the three answers and bring the unit. If the software handles the unit you brought, it can handle the one arriving tomorrow — and you and the vendor both know it.
Want to run this list with your own parts?
→ Bring your unit — let’s run the demo together → See where each step sits in the product overview
See Ordovee in your operation.
The fastest way to know if ODV fits your shop is to see the workflow with your own data — no slides, no scripted demo.